
Carefullyreview the layout of color steel plates, node requirements, the relationship between color steel plates and the building, the color, filler, and basic dimensional requirements of the color steel plates themselves, as well as the size and arrangement of doors and windows in the color steel plate partitions, the types of auxiliary materials, and any other unclear details.
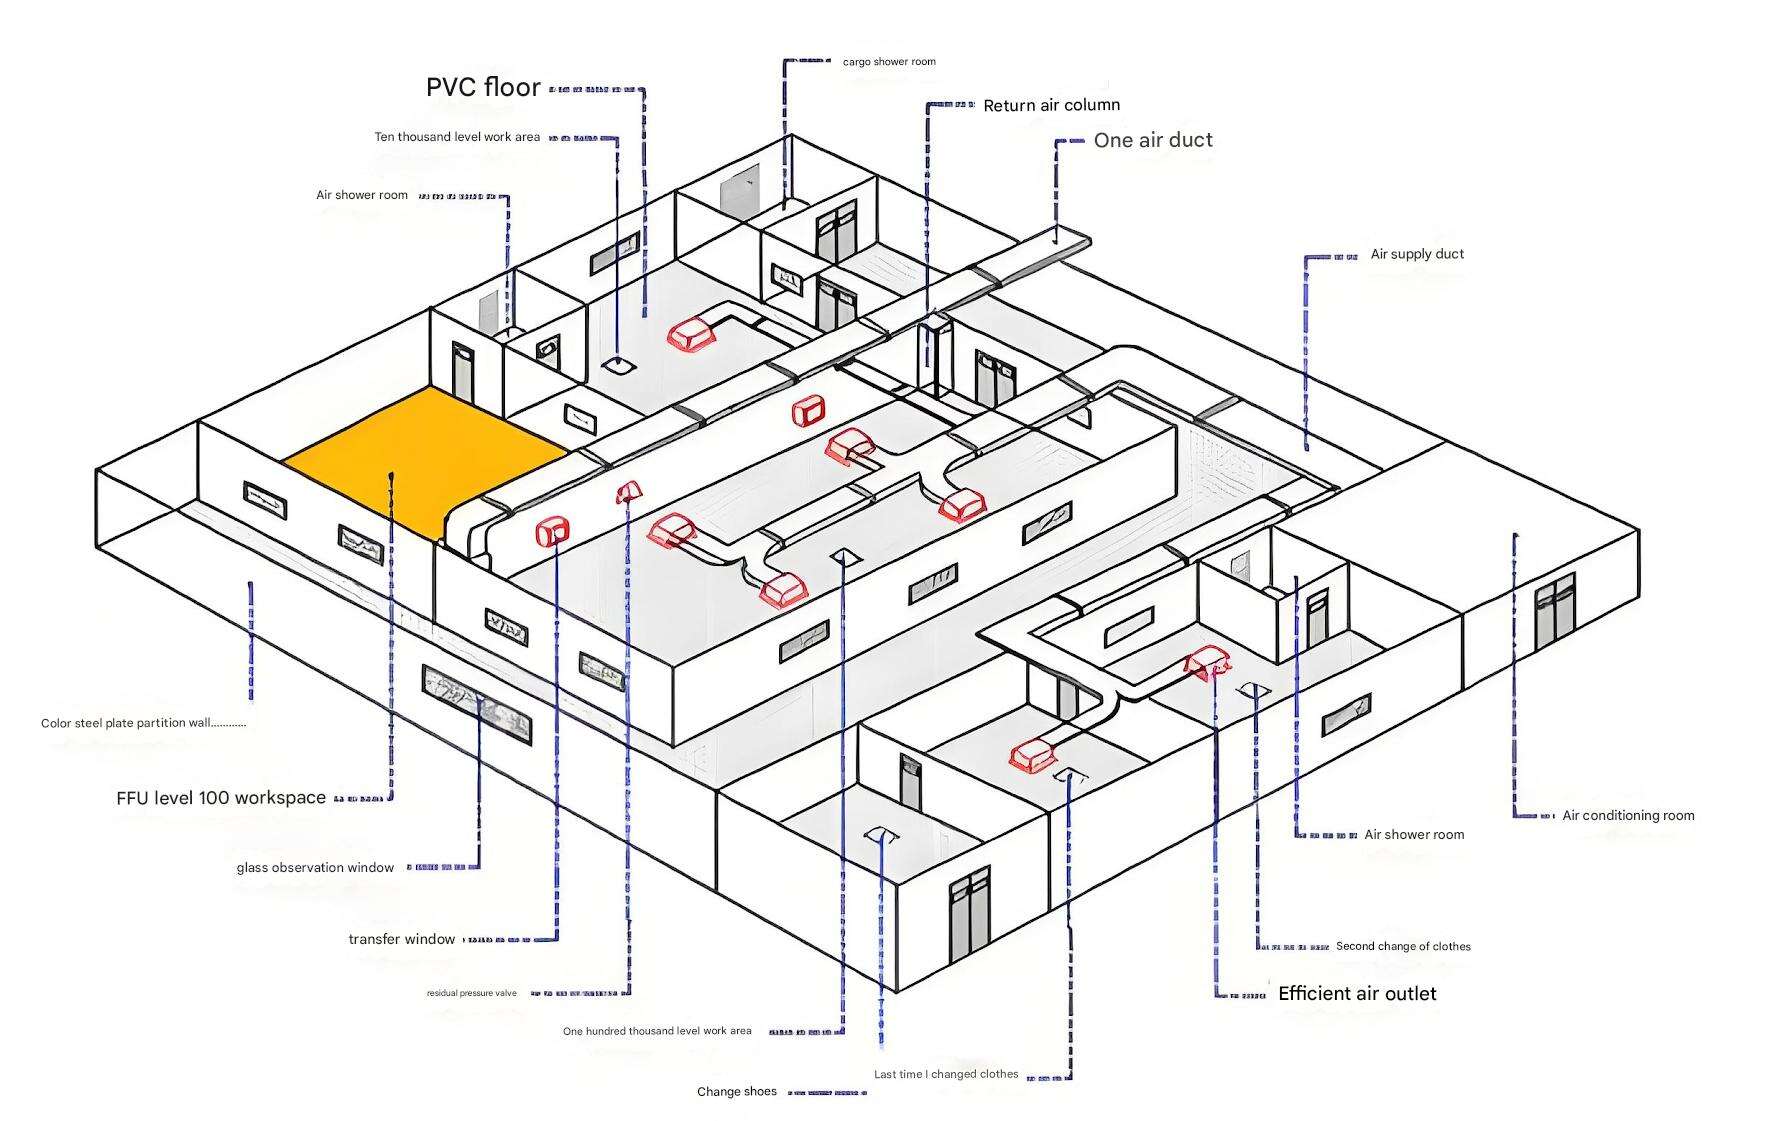
This is a crucial step in the prefabrication and installation of color steel plates. It involves converting the design drawings into intermediate drawings for factory secondary processing, transforming standard-sized panels into various types of wall panels to reflect the design intent. These drawings ensure the panels are produced as standard components in the factory and assembled on-site, which guarantees the sturdiness of the walls and speeds up the installation process.
Fully account for gaps and installation tolerances in door openings, window openings, and joints. Throughout transportation, manufacturing, and installation, prevent scratches, heavy pressure, and surface impacts to avoid uncorrectable dents and scratches. The plastic protective film on both sides of the color steel plates should only be removed after installation is complete and thorough cleaning is performed.
should be carried out after the floor (slab) is completed and when other relevant conditions are met, such as the placement of large equipment, adjustment of concealed floor pipelines, and completion of main installation work in the technical interstitial space. Marking involves drawing the horizontal projection (50mm wide) of the color steel plates on the floor and indicating the positions of doors and windows. The centerlines of the upper and lower tracks should be on the same vertical plane with an error within 1.0% (i.e., 3mm).
The lower track is typically made of aluminum alloy profiles with internal and external R-angles. Fix it to the marked line on the floor using nail guns, with nails spaced 1.2-1.5m apart in a straight line, and 0.2m from corners and ends. If using waterproof rubber strips, place two strips (Ø2-3) under the track before nailing to form a waterproof seal after fixation. The upper track is pressed channel aluminum, fixed to the ceiling with a nail gun for hard ceilings, or suspended with hangers under the roof for soft ceilings, with the height adjusted to the clear ceiling height.
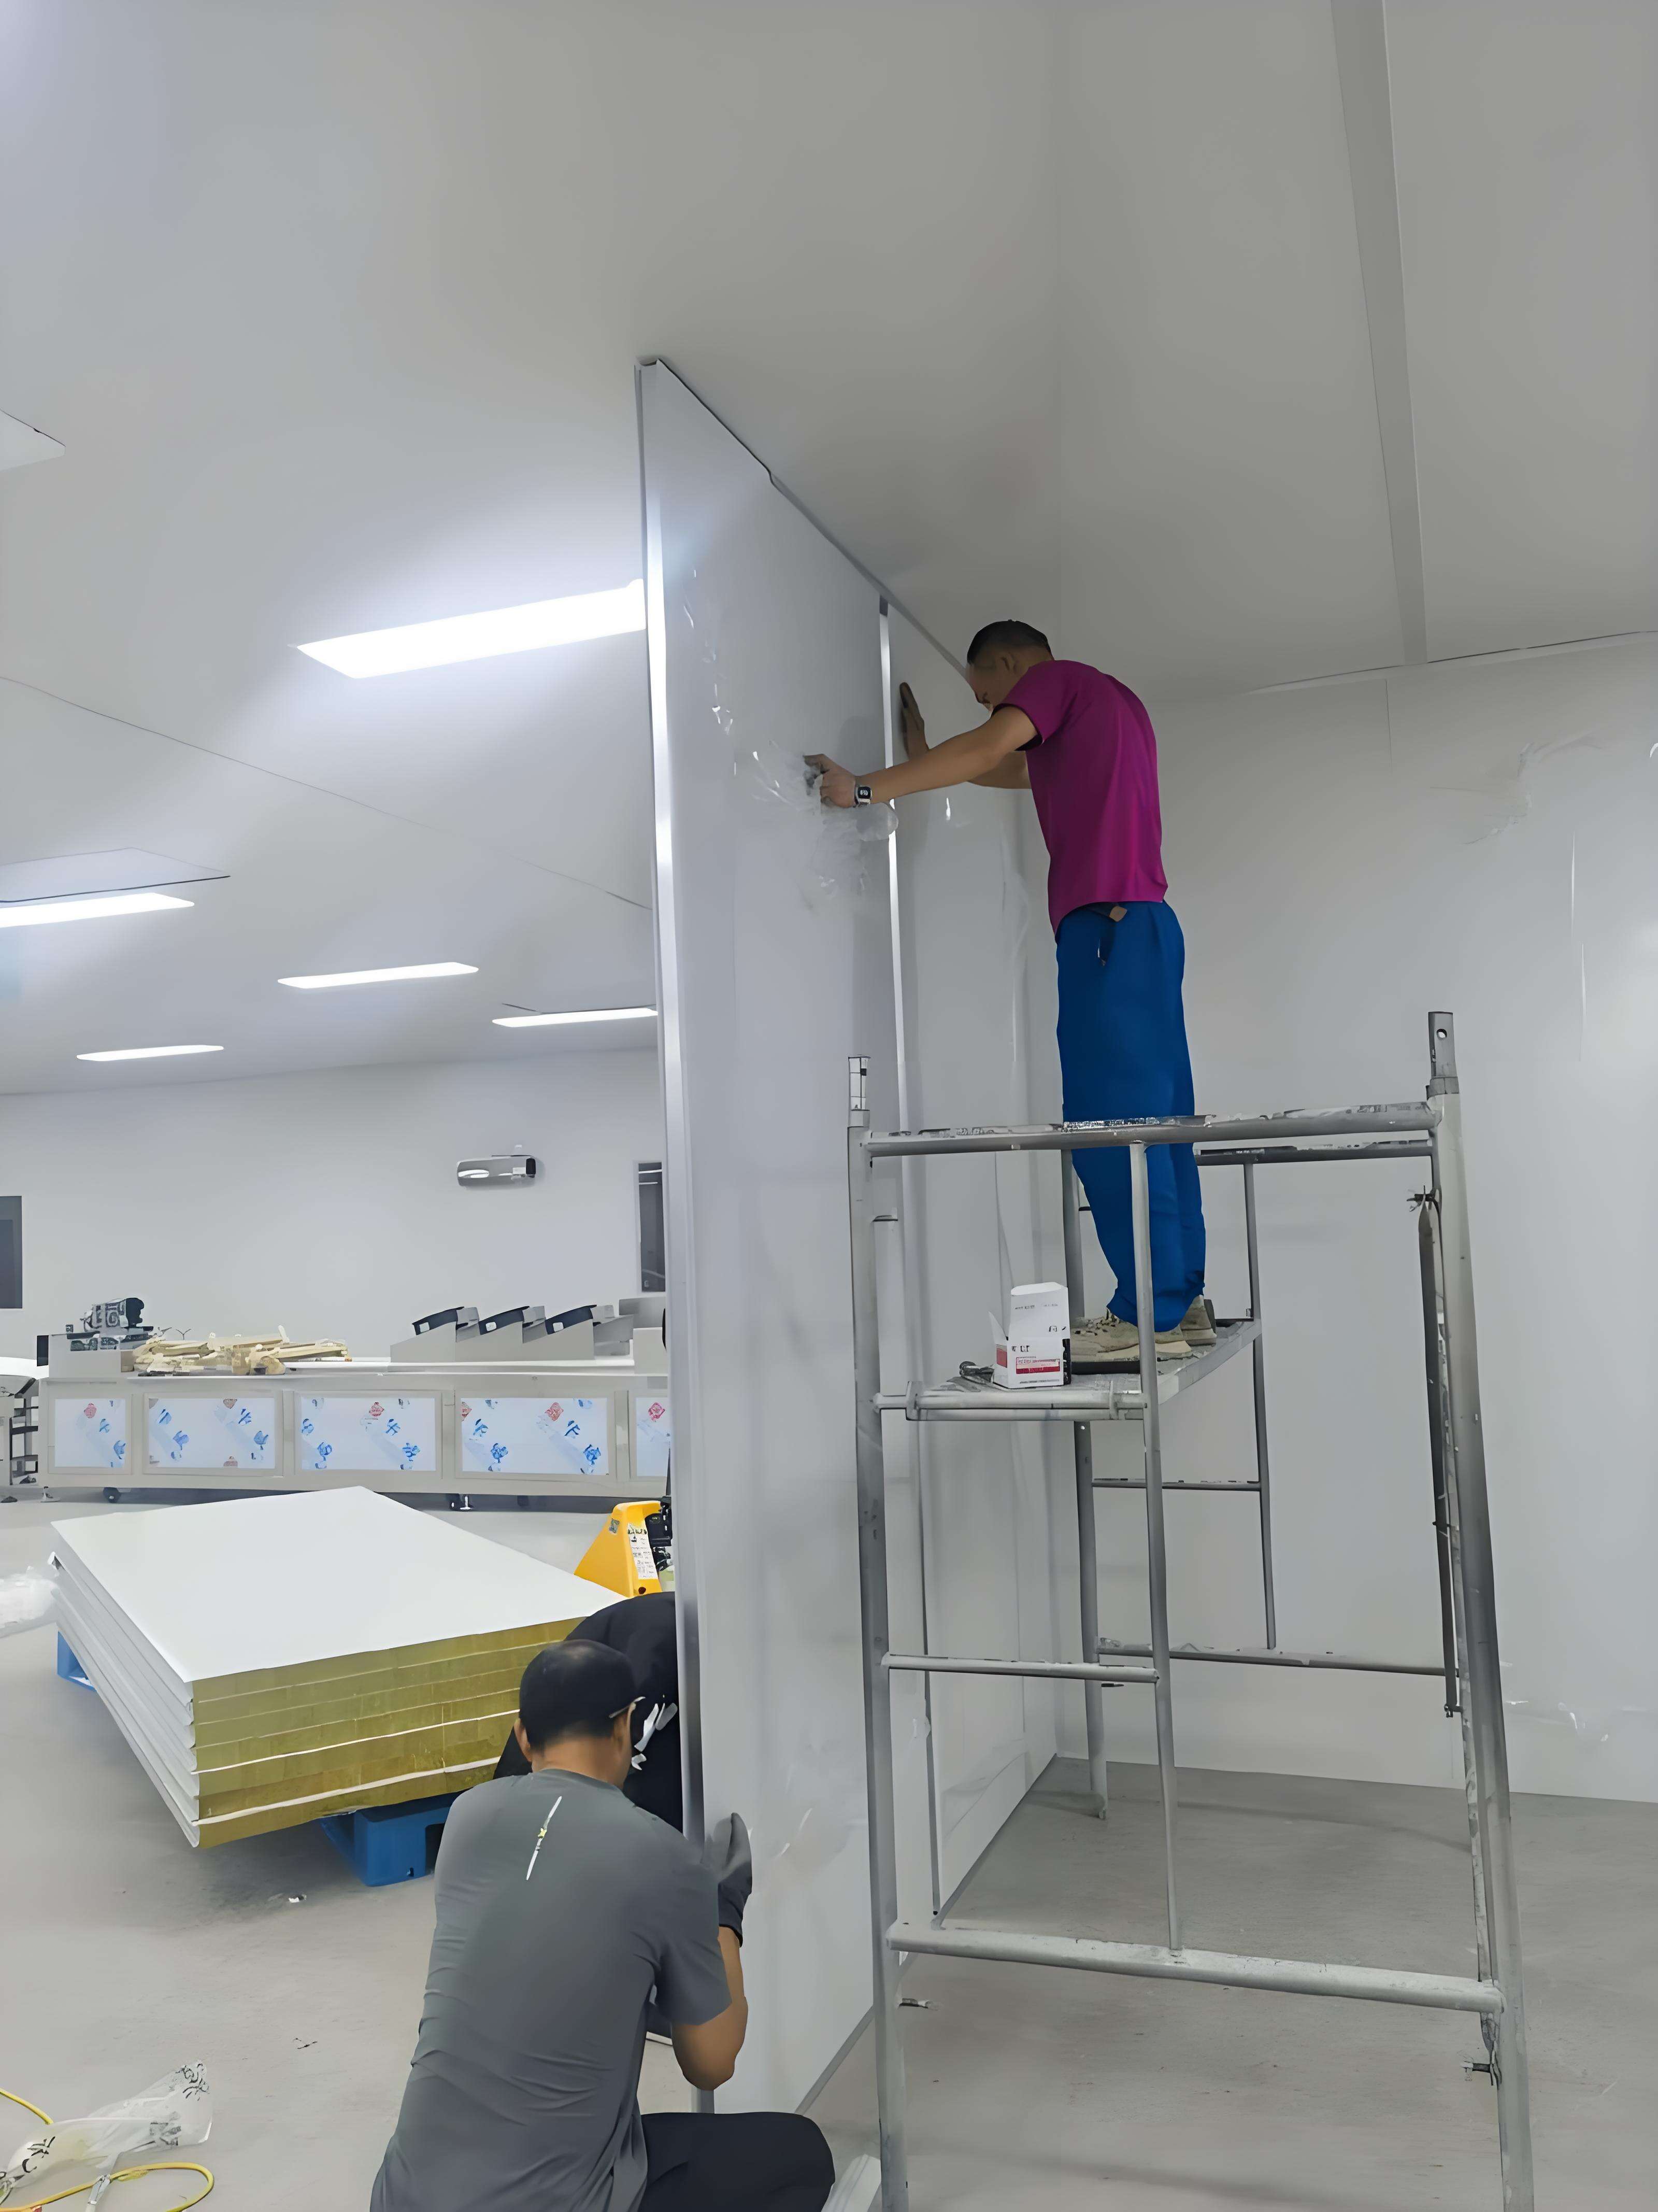
Assemble the prefabricated components according to the layout drawing, and lock adjacent panels with fixed connectors. It is especially important to coordinate the installation of concealed electrical conduits and boxes during panel assembly. Wall panels should be vertical, with tight and uniform vertical seams for a neat appearance. During operation, temporarily the protective film on the vertical seams for cleaning, but do not remove it entirely. Clean debris and hardened adhesive residue from the grooves.
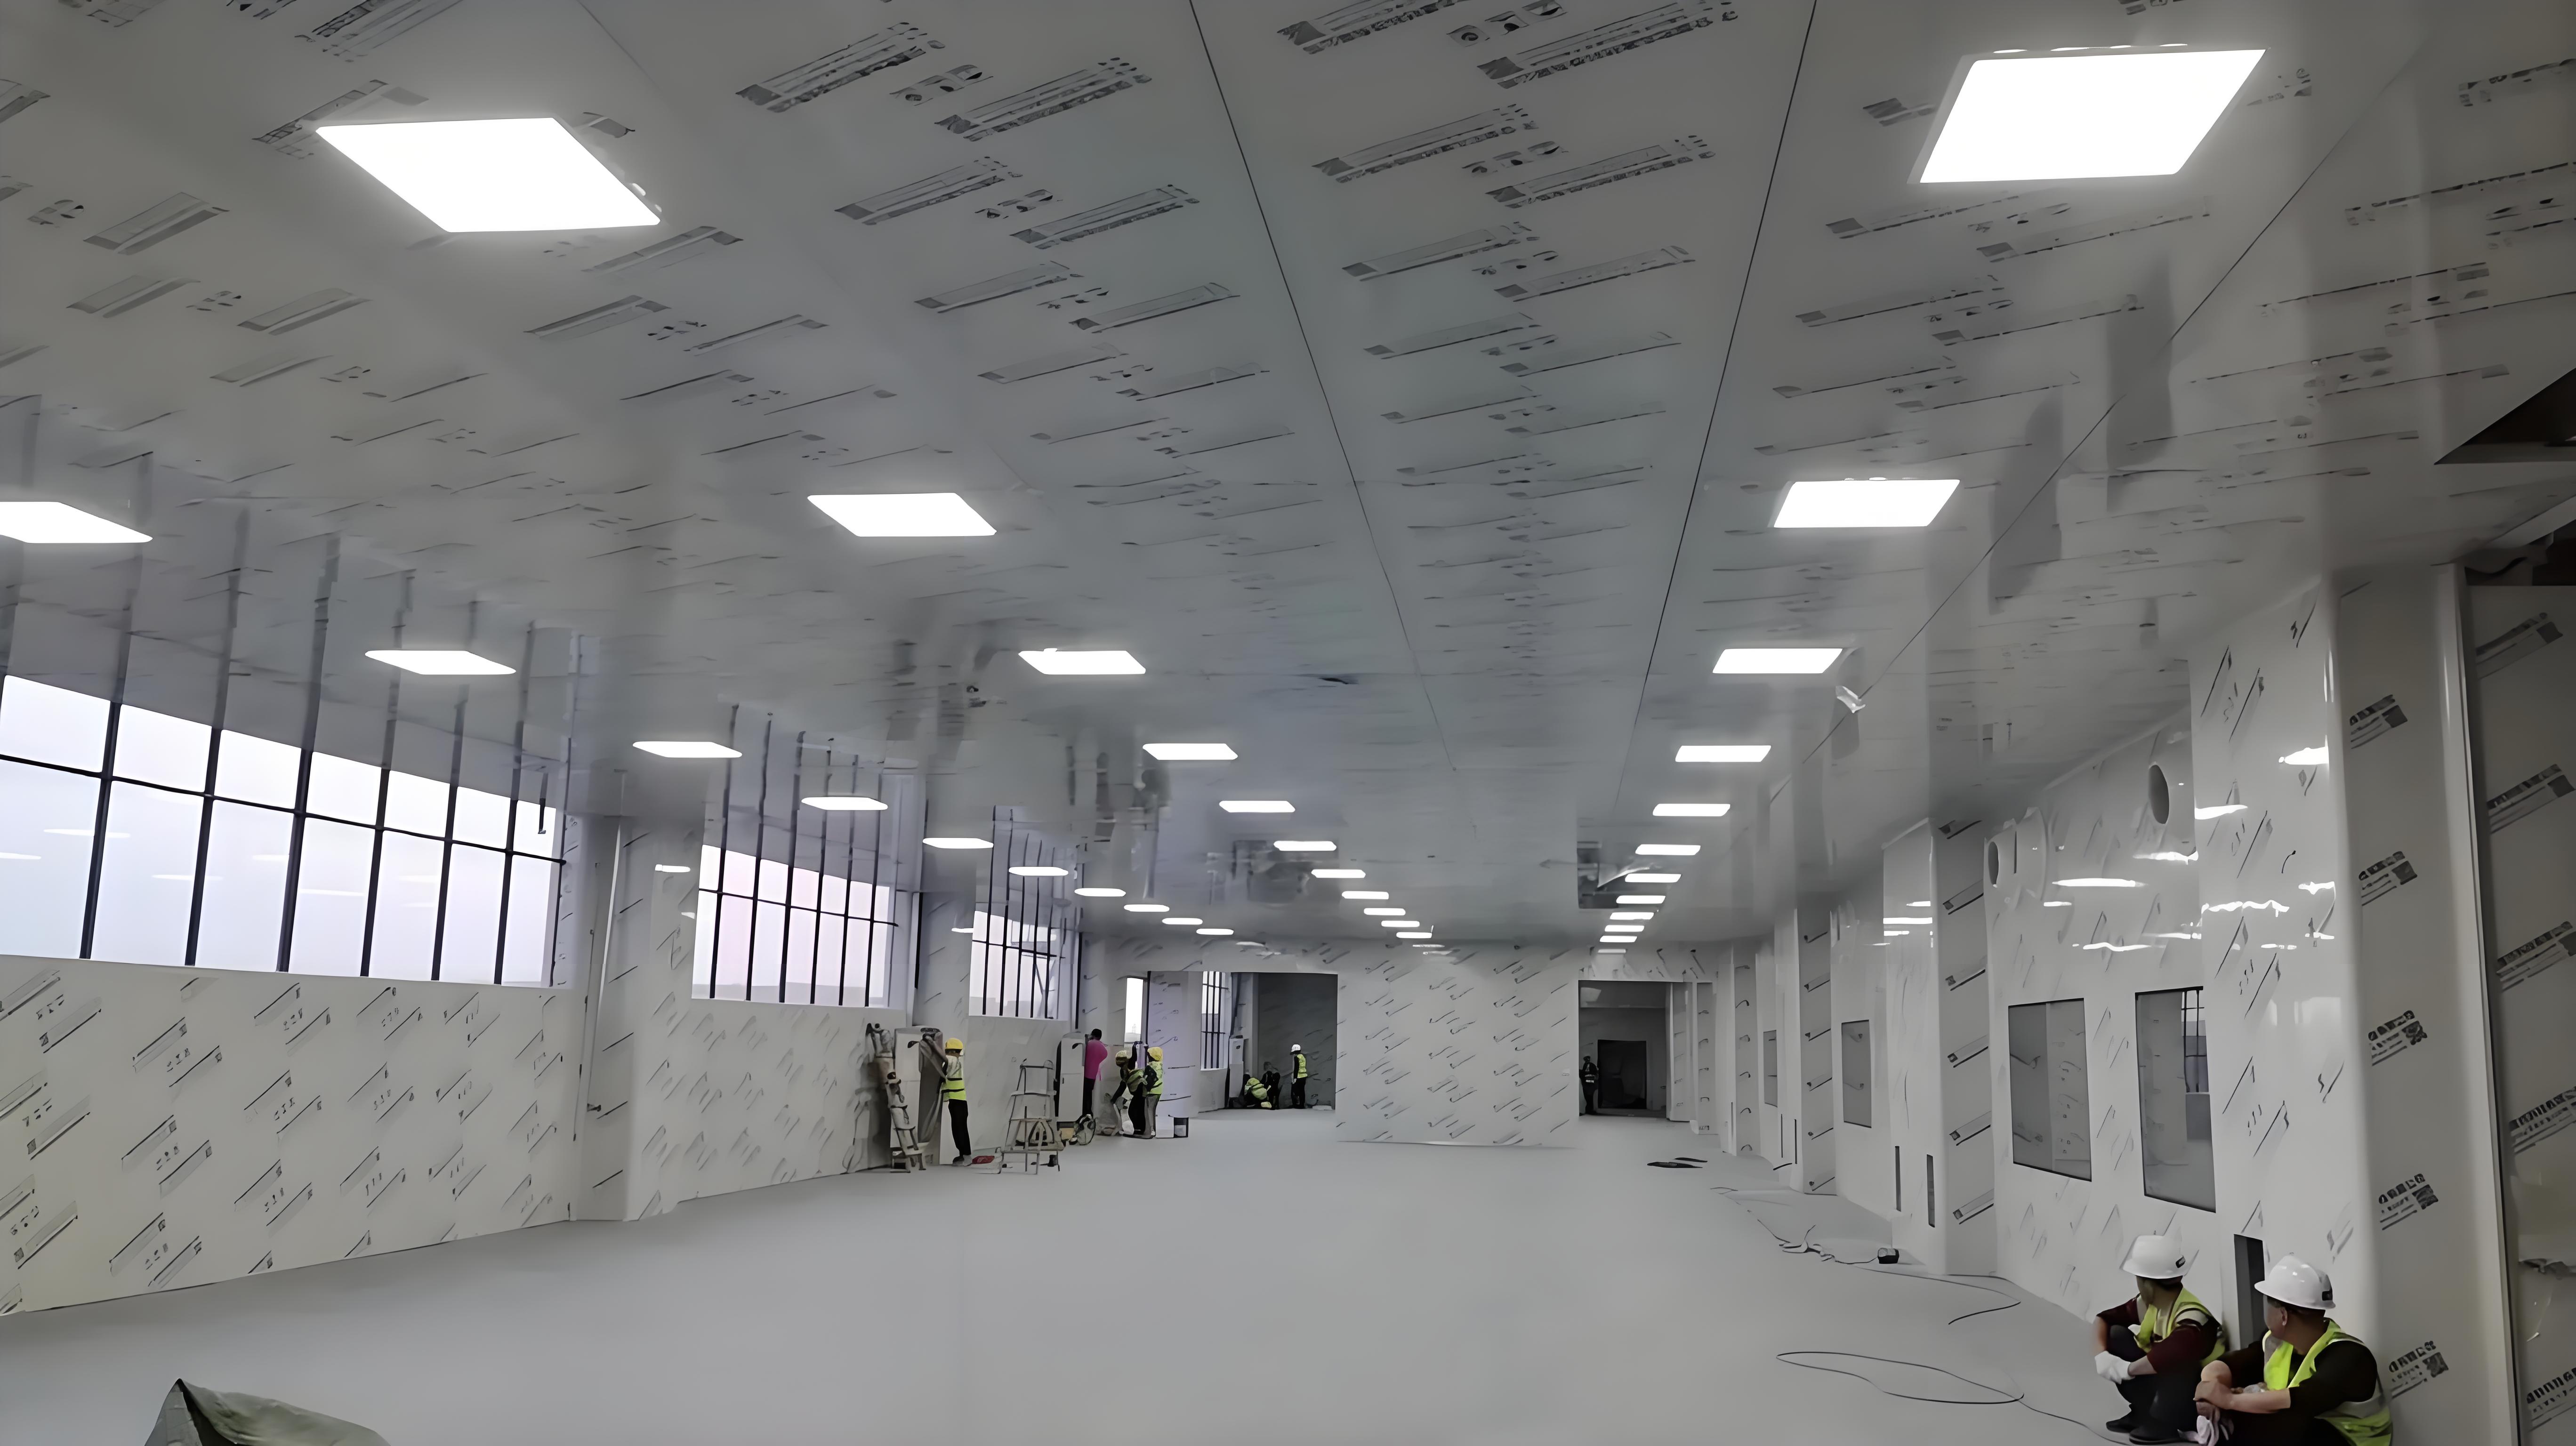
The weight of the ceiling panels is supported by the surrounding wall panels and T-shaped aluminum suspended in the middle. Long seams are fixed and reinforced with fixed connectors, while short seams are secured with T-shaped aluminum and pull-type rivets. The ceiling should be level, with tight, uniform, smooth, and flawless seams. Exercise the same care as with wall panel installation.
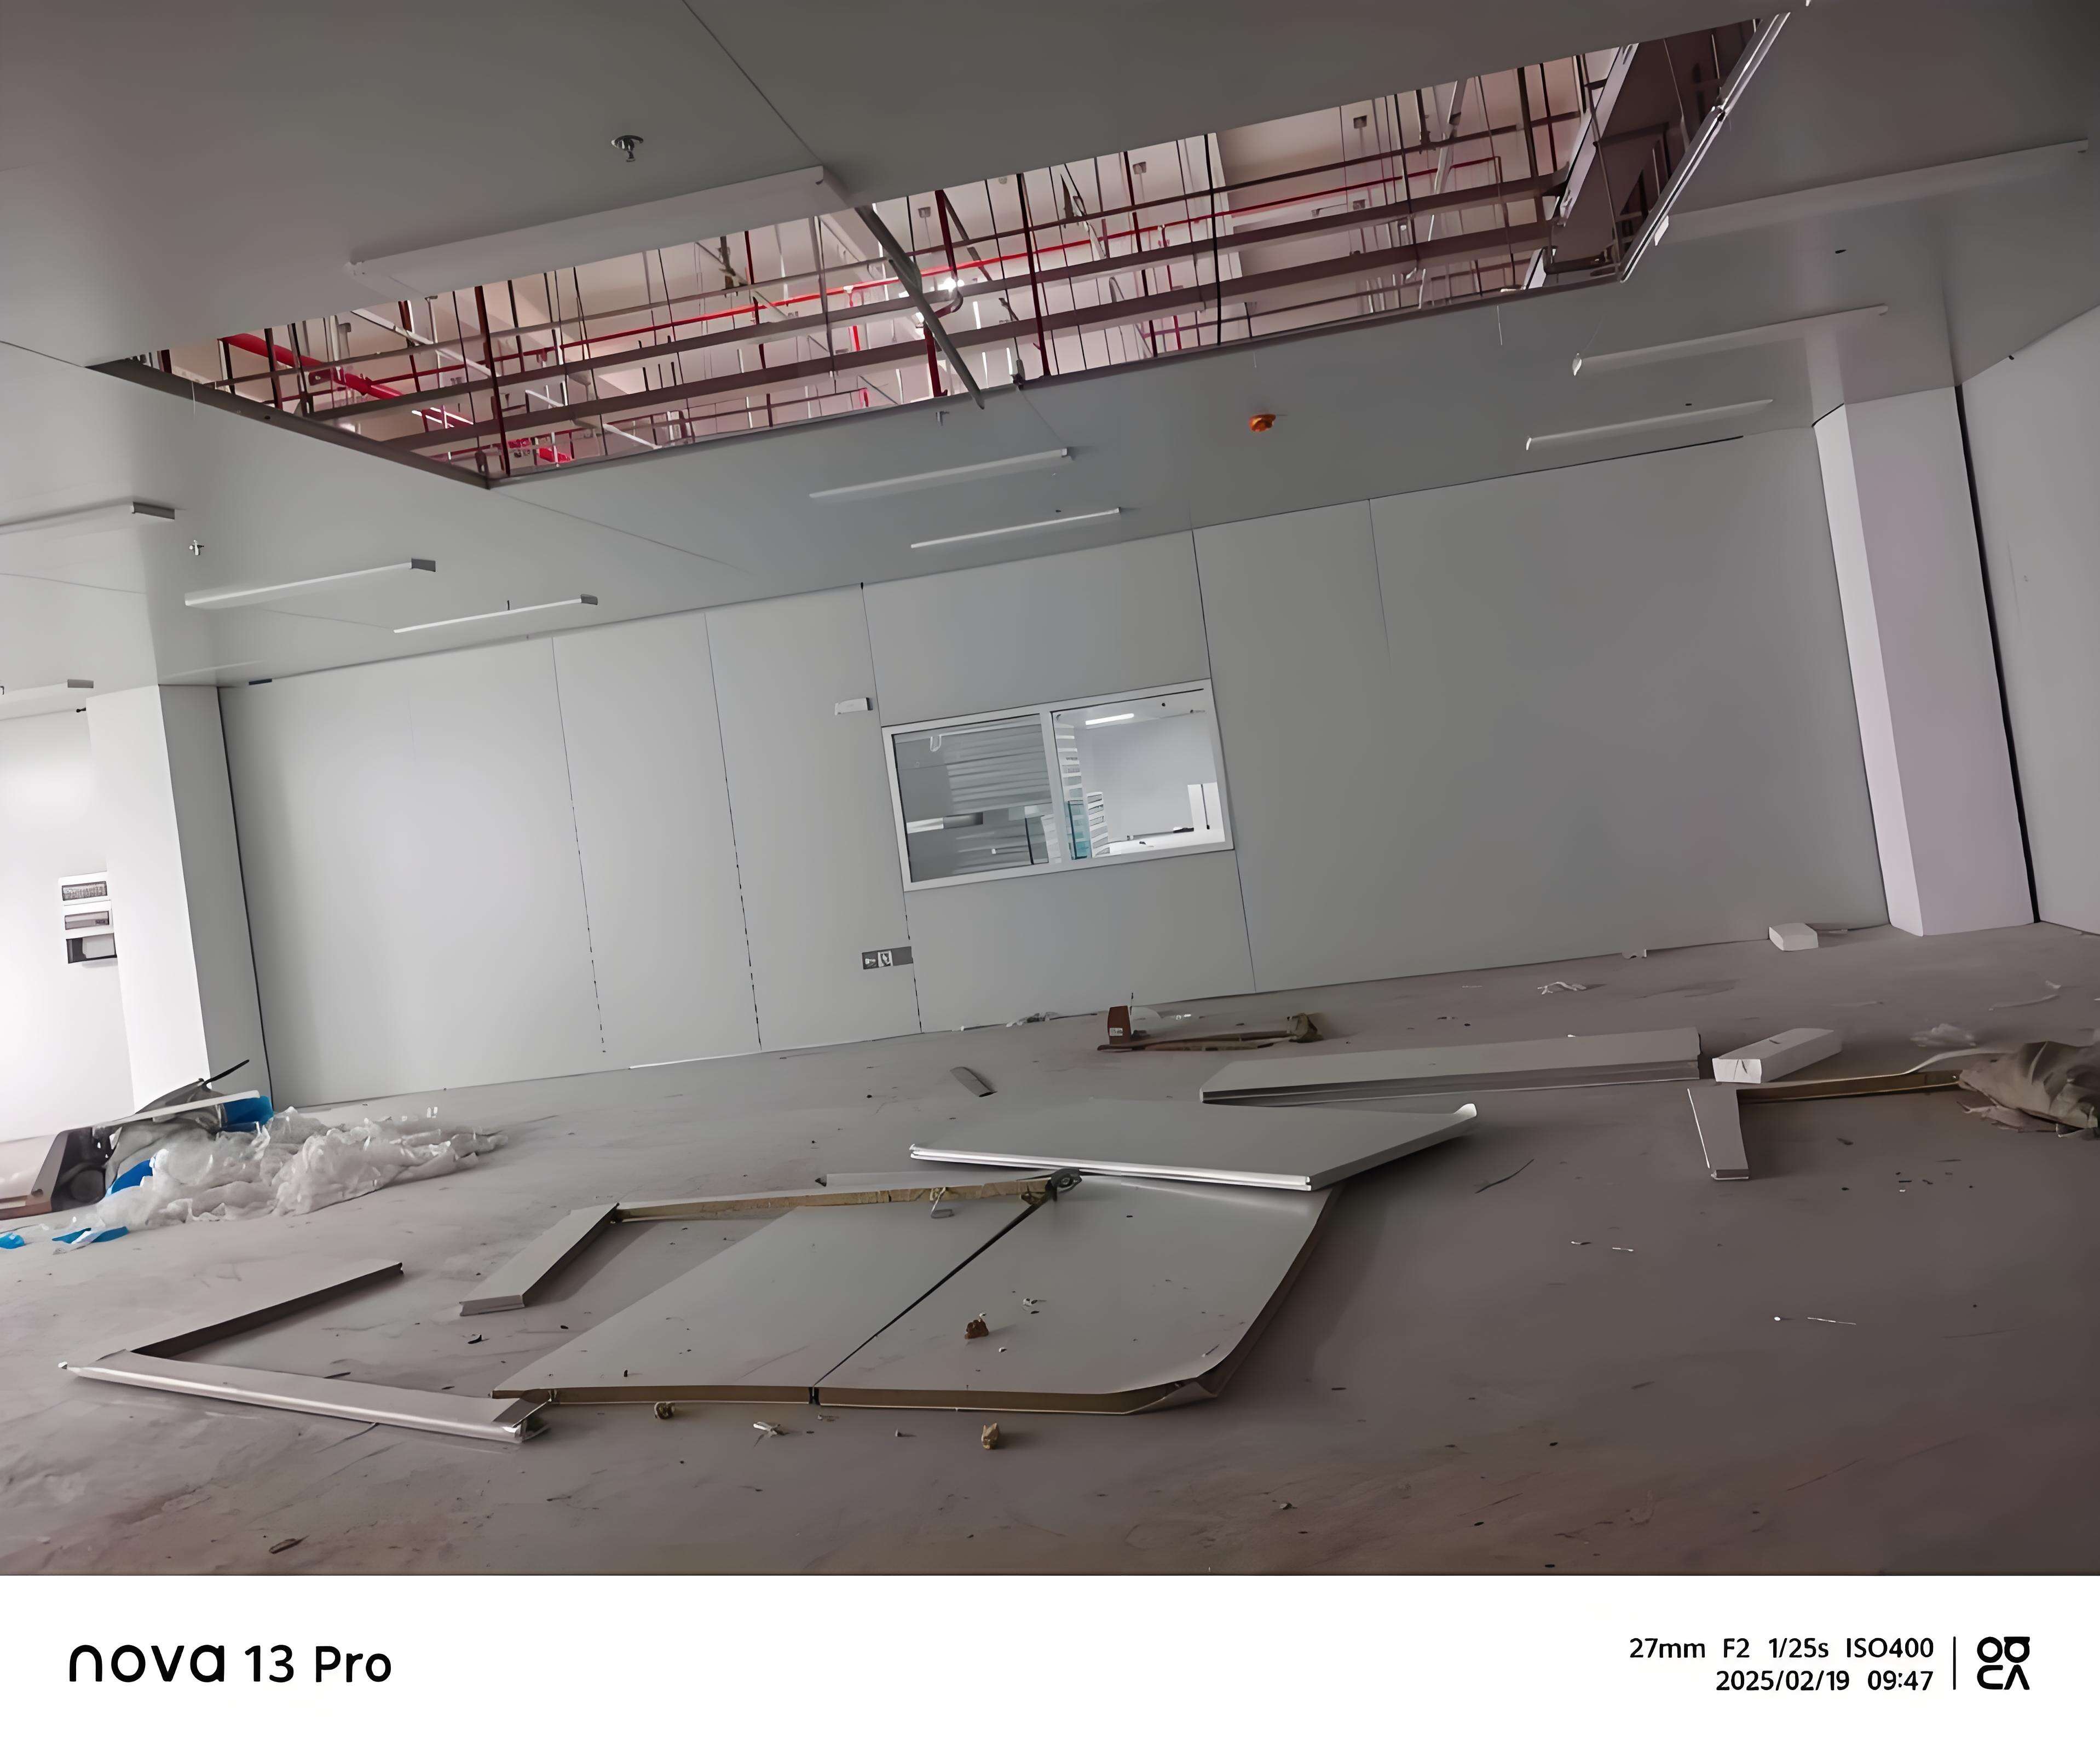
In the clean area, wrap columns with δ=50 color steel plates to save materials and ensure consistent R-angles of 50. First, install and secure stainless steel door and window frames in the openings. Pay attention to the door swing direction when installing doors, and install window glass. Adjust door closers for opening speed and force--typically, the first half of the closing should be fast, while the second half should have less force and slower speed to reduce impact and noise.
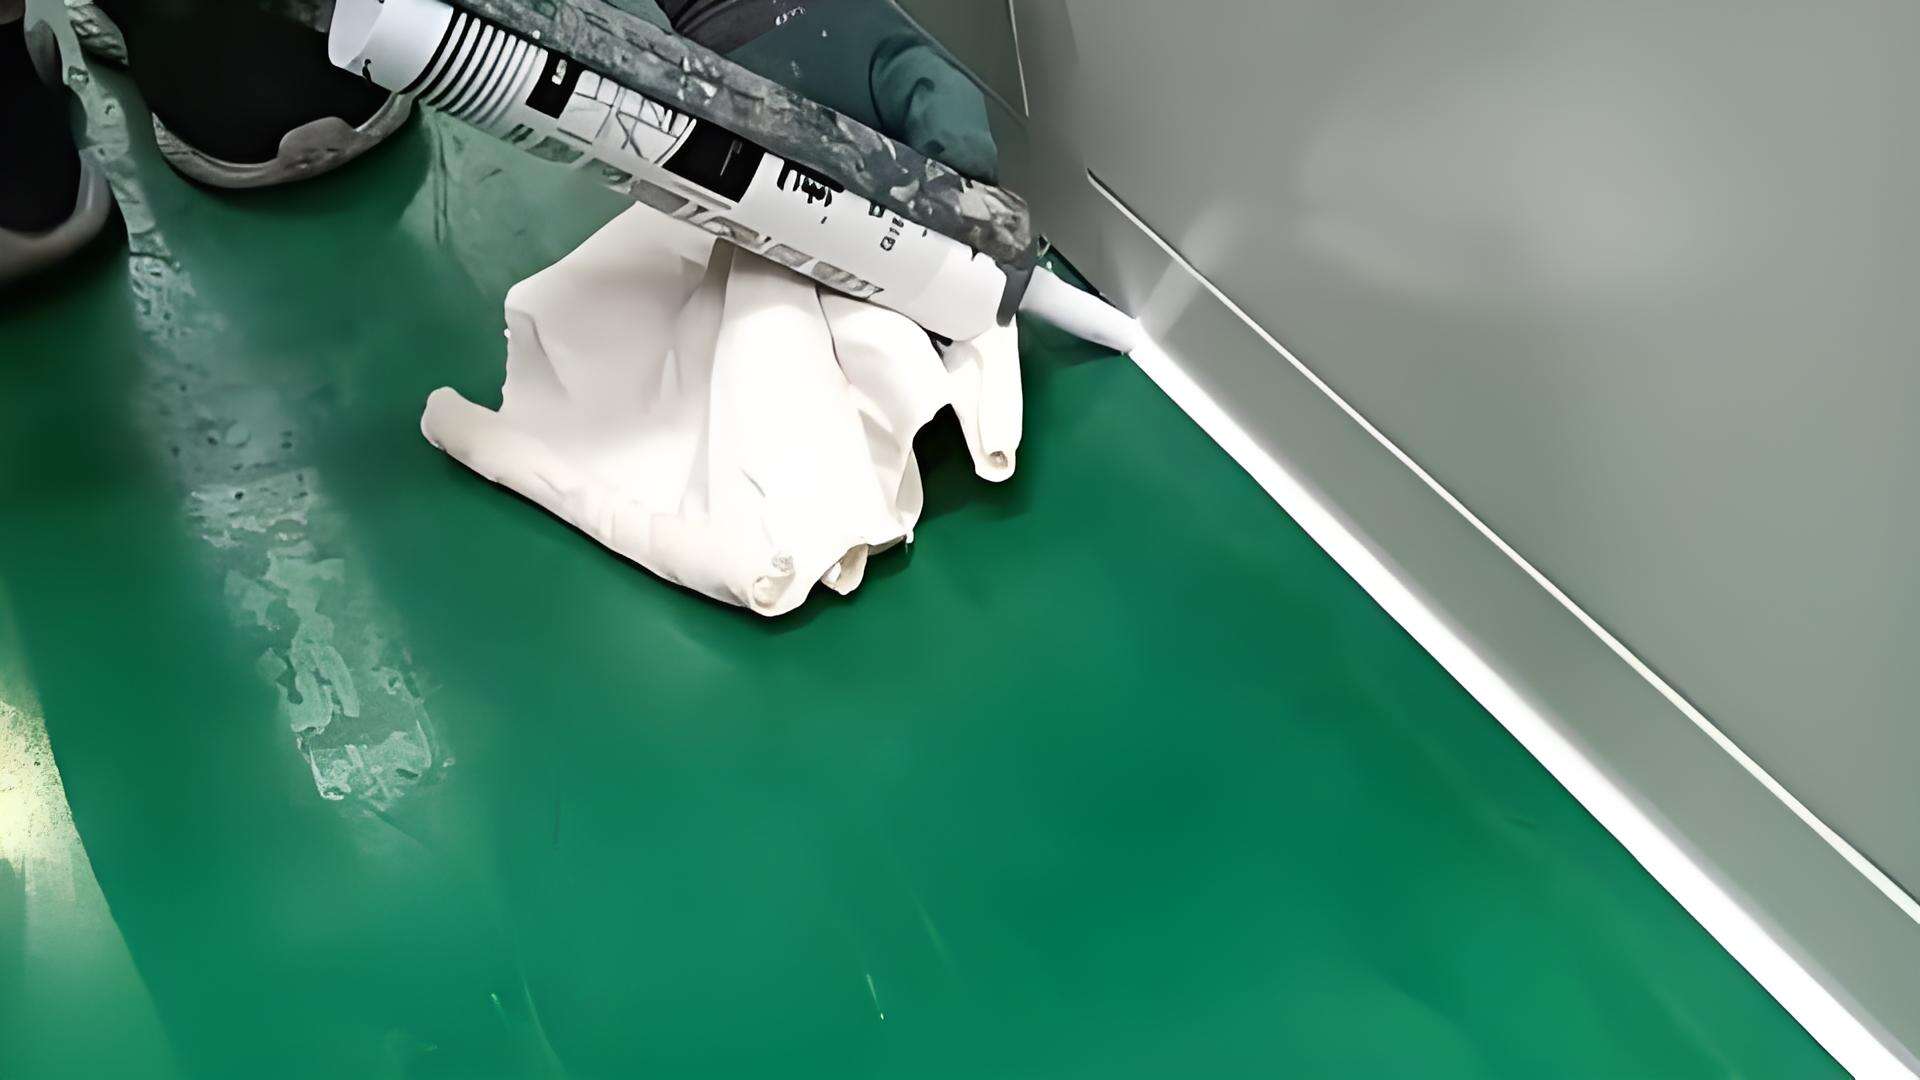
In the clean area, apply sealant silicone to all gaps that may affect cleanliness, including: seams between color steel plates; all gaps between R-angles and wall/ceiling panels; gaps between air conditioning ducts, vents, HEPA filters, and wall/ceiling panels; gaps between electrical conduit slots and the edges of openings; gaps between all switches, sockets, lights, and the color steel ceiling panel surface; gaps between all process, water supply, drainage, protective pipes, and openings; gaps between glass and frames.
Sealant silicone should be applied after the color steel plates are installed, under good sanitary conditions, and after thorough cleaning and dust removal. Otherwise, the silicone seams may become contaminated and turn black. Within 24 hours after application, avoid activities that generate dust or involve washing the floor with water, as these may affect the curing and strength of the sealant.
 EN
EN
 AR
AR
 NL
NL
 FI
FI
 FR
FR
 DE
DE
 EL
EL
 HI
HI
 IT
IT
 JA
JA
 KO
KO
 PT
PT
 ES
ES
 RU
RU
 TL
TL
 ID
ID
 UK
UK
 VI
VI
 TH
TH
 HU
HU
 TR
TR
 MS
MS
 LA
LA
 BN
BN
 MN
MN
 MY
MY
 UZ
UZ
 KK
KK

